
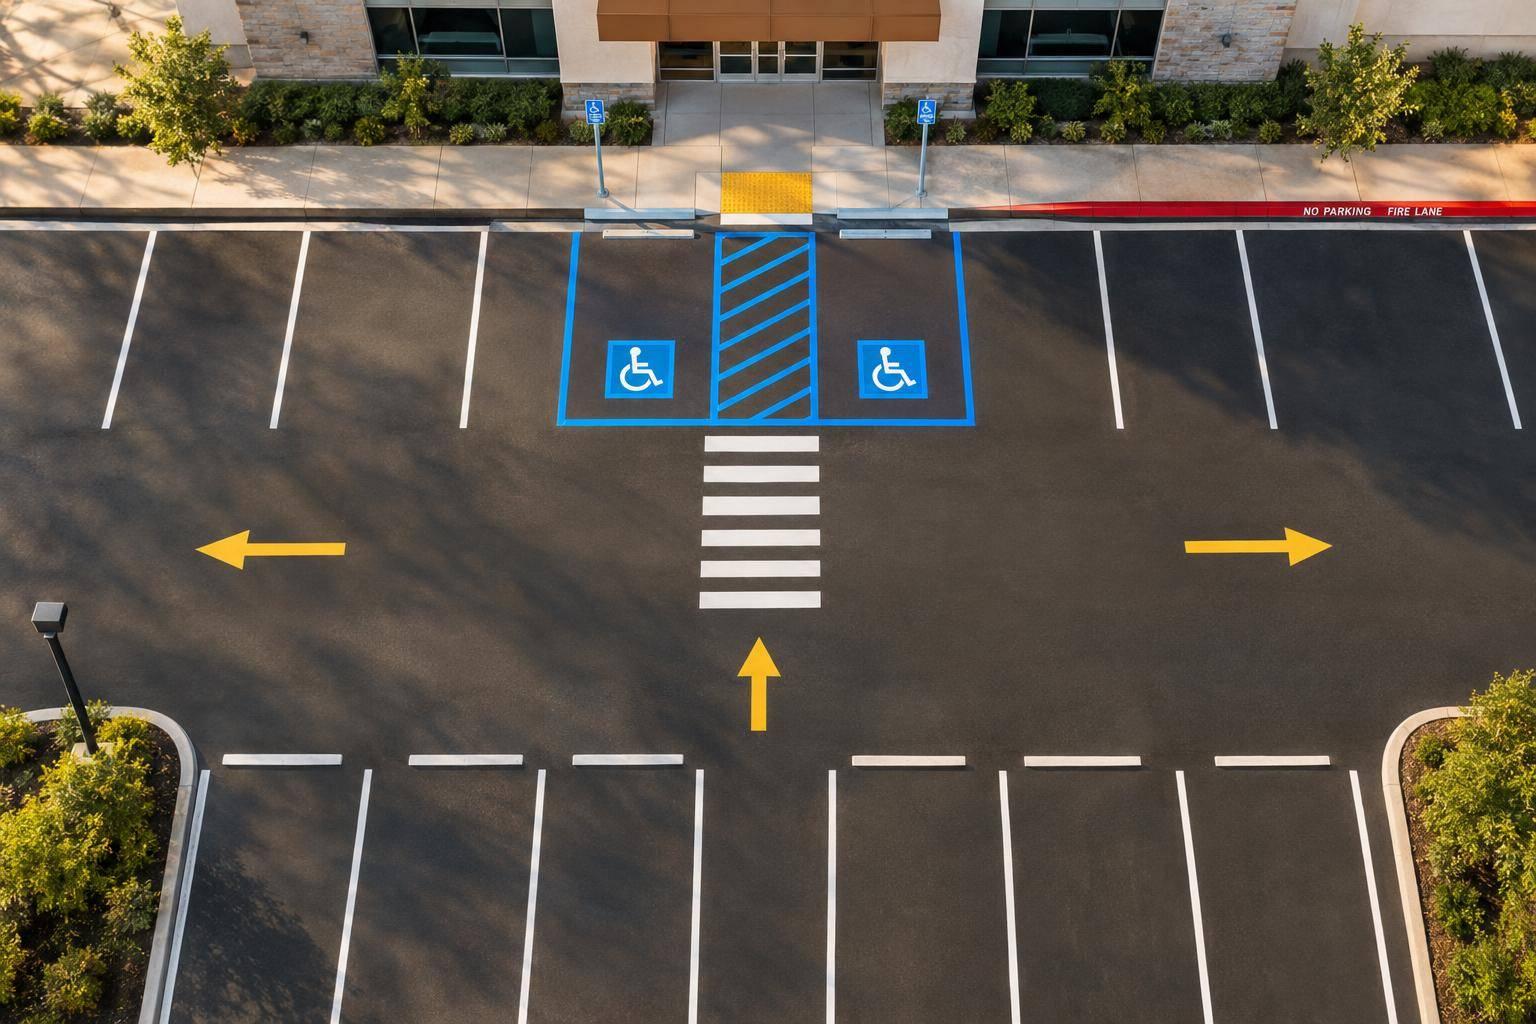
What Goes Into a New Parking Lot Striping Layout
We plan a parking lot layout around how people park, drive, and reach your entrance - not just where lines fit. That starts with measuring the lot, checking for pavement damage, and confirming the rules that apply to your site.
- Traffic flow: Stall angles, drive aisles, crossings, and restricted areas.
- Accessible parking: Spaces, access aisles, signs, and clear entrance routes. Federal ADA requirements call for at least 1 in every 6 accessible spaces, or fraction thereof, to be van accessible.
- Work and reopening: Repairs, surface preparation, marking placement, drying conditions, and final checks.
The details depend on your pavement, site conditions, and local requirements. We bring those checks together <u>before striping begins</u>, then review the finished layout before reopening.
Assess the Site and Plan Traffic Flow
Measure the Lot and Check Pavement Condition
Start with a scaled site plan showing property lines, pavement edges, easements, entrances, exits, sidewalks, buildings, and accessible entrances. Add curbs, islands, loading areas, dumpsters, drainage features, utility covers, retaining walls, and other fixed obstacles.
Record dimensions, grade changes where needed, no-stripe and no-parking areas, low-clearance limits, and busy delivery times. Map routes for customers, employees, deliveries, pedestrians, service vehicles, and emergency vehicles. Confirm any unclear boundaries before marking stalls. These details help determine where stalls, aisles, accessible routes, and restricted areas can go.
Check the pavement for cracks, potholes, raveling, depressions, loose material, failed patches, standing water, faded striping, and drainage problems. Plan repairs before painting. Accessible spaces and routes need a firm, stable, slip-resistant surface. Once repairs are planned, match the layout to the finished surface.
Choose Parking Angles and Drive Aisles
Use the site map to match the parking layout to traffic flow. Check stall depth, aisle width, and the depth of opposing stalls against applicable zoning, building, fire, accessibility, and site requirements. Don’t rely on an assumed standard.
| Configuration | Layout and planning considerations |
|---|---|
| 90-degree | Perpendicular stalls with straight-in access. Can fit more spaces, depending on the site, but need enough aisle width and backing room. |
| Angled | Diagonal stalls that can make entry easier. Confirm one-way or two-way circulation, aisle width, and turning room. |
| Parallel | Stalls along the curb or edge. Can work where width is limited; verify length and clearance. |
Place Traffic and Restricted-Area Markings
Plan traffic-flow markings separately from restricted-area markings. Arrows show aisle or turning direction, stop bars identify stopping points, and crosswalks mark pedestrian crossings. Loading zones, no-parking areas, fire lanes, and curb markings preserve access or limit use. Match these markings to signs and sight lines.
Keep parking aisles separate from driving lanes, and use the striping rules that apply to the lot type. Confirm and record required local fire, zoning, and accessibility approvals - including required curb treatments - before striping.
sbb-itb-bfcbd36
Plan Accessible Parking and Entrance Routes
Once the overall traffic pattern is set, plan accessible parking and the route to the entrance.
Locate Accessible Spaces and Access Aisles
Plan accessible parking before finalizing the rest of the layout. Before striping, verify ADA, Florida, and local requirements for space counts, dimensions, slopes, routes, markings, and signs.
Use the ADA table to determine the minimum number of accessible spaces for each parking facility. At least one of every six accessible spaces, or fraction thereof, must be van accessible. Reserve room for these spaces in the layout.
Plan each space, access aisle, and sign together. Two spaces may share an access aisle, but that aisle must run the full length of the spaces, stay level with them, and connect to an accessible route. Mark the aisle to prevent its use for parking, and verify these details before striping.
| Federal ADA requirements to verify | Confirm with the local authority having jurisdiction |
|---|---|
| Car spaces must be at least 96 inches wide. Van spaces must be at least 132 inches wide with a 60-inch aisle, or 96 inches wide with a 96-inch aisle. | State or local amendments affecting dimensions, pavement symbols, aisle markings, or additional space requirements. |
| Space and aisle slopes must be no steeper than 1:48, approximately 2.08%, in any direction. | Site grades, drainage corrections, and required review or inspections. |
| The bottom edge of signs must be at least 60 inches above the ground, with the required van designation. | Sign wording, mounting details, and enforcement language. |
| Van spaces, aisles, and connecting vehicle routes must have at least 98 inches of vertical clearance. | Low canopies, branches, signs, and any additional clearance requirements. |
Next, trace the path to the entrance and remove any obstruction that interrupts the accessible route.
Connect Accessible Parking to Entrances
Accessible parking needs a clear, unobstructed path to an accessible entrance. Place spaces on the shortest accessible route - not simply closest to the building if that location creates an unsafe crossing.
Check the route’s clear width, surface condition, slopes, and curb transitions. Look for obstructions such as wheel stops, signposts, landscaping, grates, utility covers, or vehicles extending into the path. Avoid unnecessary drive aisle crossings, and keep curb ramps out of access aisles.
If the lot includes passenger loading, verify the loading space, access aisle, vertical clearance, curb treatment, and local requirements before striping.
Prepare, Stripe, and Inspect the Lot
Once the layout is approved, move from planning to pavement work.
Schedule Repairs and Maintain Safe Access
Complete pavement repairs, crack treatment, and sealcoating before striping. Allow each material to cure, then remove dirt, loose aggregate, oil, grease, old markings, and standing water.
Check the pavement just before application. Postpone work if moisture or rain could affect the new markings. Plan closures around business hours and deliveries. If needed, work in sections and use barriers and temporary signs to keep customers out of work areas. Keep accessible entrances and emergency access open.
Measure and Apply the Markings
After repairs, check field measurements against the approved plan. Account for any changes to grades, curbs, or available space before painting. Set reference lines, mark stall boundaries, and check alignment before applying permanent lines. Careful measurement helps keep small errors from adding up across a row and narrowing drive aisles.
Apply stall lines first, followed by arrows, stop bars, crosswalks, restricted-area hatching, symbols, and lettering. Check line widths, colors, and stencil placement against the approved plan and applicable requirements.
Keep traffic off the markings until they are ready for use. Surface dryness alone does not mean the lot is ready to reopen. Drying depends on the material, pavement temperature, humidity, wind, and shade. Check every route after application and before reopening.
Check the Layout Before Reopening
Walk the entire lot, following both vehicle and pedestrian routes. Compare stall alignment, arrows, stop bars, crosswalks, restricted areas, and accessible markings with the approved layout.
Check that signs match the markings, entrance connections stay clear, and nothing blocks emergency access. Use the approved plan and local requirements to guide the walk-through. Record and correct any blurred, misplaced, or missing markings, then check them again before reopening.
Conclusion: Confirm the Plan Before Striping
Once the layout is set, confirm the final plan before striping. Check measured site conditions, traffic flow, accessible parking, pavement repairs, and applicable federal, state, and local requirements.
Before reopening, document closure times, delivery access, pedestrian routes, repair work, and final approval.
For parking lot striping and layout in North Florida, contact American Curb Appeal Inc. Share your site plans and access needs to help guide the discussion.
FAQs
Does restriping trigger new ADA requirements?
Restriping alone does not automatically trigger new requirements, but faded markings must be repainted to maintain compliance. If you change the layout, recalculate the required number of accessible spaces based on the lot’s total capacity.
If the pavement has settled, structural repairs may be needed to correct the slope before restriping. New striping does not fix a noncompliant slope. Regular maintenance helps maintain compliance with the Florida Accessibility Code.
Can I add spaces without expanding my lot?
You can often add parking spaces without expanding your lot. Outdated or confusing striping may leave some space underused.
American Curb Appeal Inc. can assess your layout and identify where changes to stall angles and traffic flow may make better use of the space. Whether you can add spaces depends on your lot’s conditions and local requirements, including current traffic and safety standards.
What affects the cost of a new striping layout?
Cost depends on the project scope, asphalt condition, engineering complexity, traffic volume, and any asphalt or concrete repairs needed. Compliance upgrades also affect the proposal, including changes to ADA parking space dimensions and slope corrections.
American Curb Appeal Inc. reviews these factors on-site to plan a layout that makes the most of your parking capacity and meets safety standards. You then receive a clear, written proposal tailored to your property.
Need parking lot maintenance?
Contact us today for a free proposal on your next pavement project.
Get Your Free Proposal